Transform Sample
It may be convenient to change the coordinate system of a sample model, for example, if it will simplify the specification of measurement point positions. Transformations will be applied to sample and to all attached objects (which includes fiducial points, measurement points and vectors if present). The software provides several options for transforming samples.
Warning
Do not forget to add fiducial points before applying a transformation to the sample otherwise the sample could be misaligned on the instrument when fiducials are used.
Note
Transformations are applied directly to sample (as opposed to being stored) so when no sample exist all the transform windows will be disabled.
Rotate sample
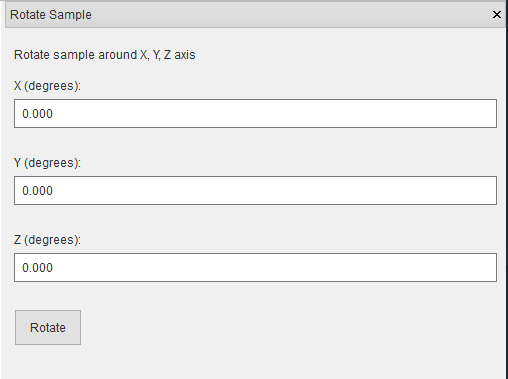
Click the rotate sample  button on the toolbar. The rotate sample window will be opened. Type in the desired
X, Y, Z axis rotation and click the Rotate button.
Translate sample
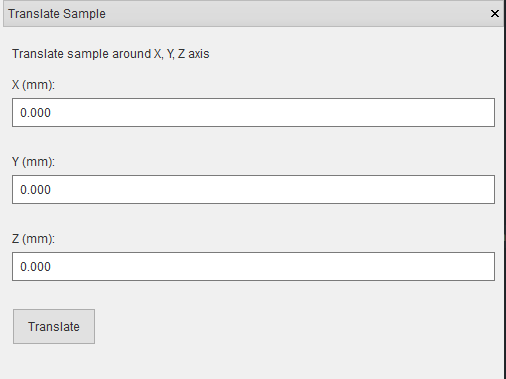
Click the translate sample  button on the toolbar. The translate sample window will be opened. Type in the
desired X, Y, Z axis translation and click the Translate button.
Transform sample with matrix
Click the transform sample  button on the toolbar. The transform sample window will be opened.
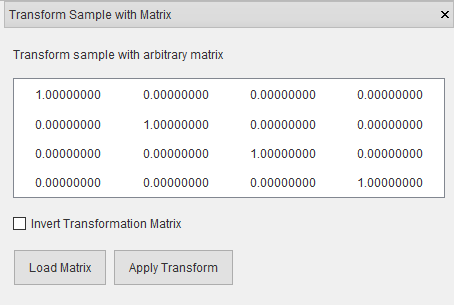
Click the Load Matrix button and select the Transformation matrix file (.trans) that contains the transformation matrix.
A preview of the file will be shown in window, to use the inverse of the loaded matrix click the Invert Transformation Matrix check box
Click the Apply Transform button
Move origin to sample
It may be useful to move the scene origin to center or edge of the sample. To do this click the move origin to sample
 button on the toolbar.
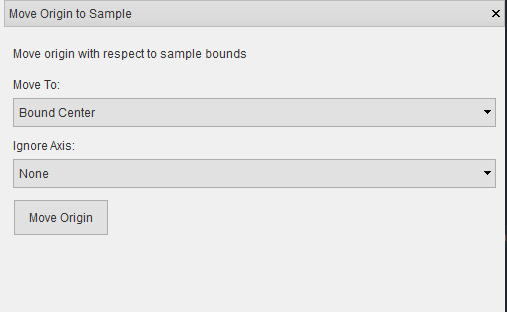
Select the boundary to move the origin to.
Select the Axis to Ignore i.e. leave fixed.
Click the Move Origin button
Tip
If the sample contains extraneous surfaces for example, parts of a table may be scanned with the sample, using this may not place the origin at the expected position since the extraneous surface may now constitute part of the boundary. In such a case, remove extraneous surfaces in a mesh editing software beforehand.
Rotate sample by plane alignment
It may be useful to rotate the sample so that a plane on the sample is aligned with a plane in the world. To do this
click the rotate sample by plane alignment  button on the toolbar.
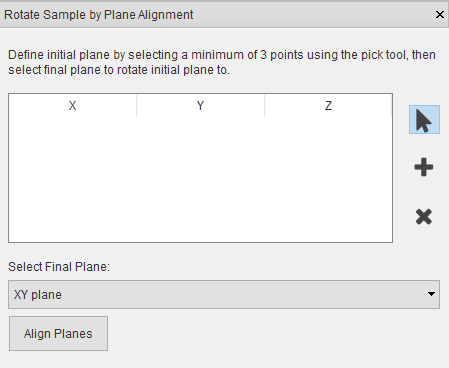
Select a minimum of 3 points to estimate a plane.
Specify a final plane in the world coordinate frame.
Click the Align Planes button.
Rotating and panning the scene is disabled (zooming is still enabled) when point selection is active, click the
 button to activate scene navigation. To delete a point, select the point from the point list (the
corresponding graphics will be highlighted) and click the
  button.
Tip
You can select points from the point list while point selection is active. Select multiple points using Shift + Left Click or Ctrl+ Left Click
